Hours 800 to 2,200
Workflow: Capture One, Lightroom and Photoshop
The objective of this post is to create and document a workflow that makes better use of the respective strengths of Capture One Pro, Lightroom Classic and Photoshop CC, and to meet my developing requirements:
- File management to meet the requirements of FIAP accredited Salons
- Shooting tethered in the field
- Managing images shot on holiday or otherwise away from home.
Capture One Pro has the concept of Sessions which are great for managing discrete projects. In my opinion better than anything Adobe has in this area. However, for overall file management, Lightroom Classic CC is a clear winner (even PhaseOne admit that Capture One Catalogs are not quite there yet). Photoshop remains the top choice for final editing.
This post covers both:
- how I integrate the three systems above
- the star and colour coding systems I use to select and categorise images.
As usual, if you have any comments or suggestions, please post them in the Comments box below or contact me through your favourite social media channel, listed to the right. Thank you.
Software of Choice
Capture One Pro
As a user of Sony Cameras I have been frustrated by Adobe Lightroom’s tethered support for only Canon and Nikon. The various third party plugins work to some extent, but I have found them to be awkward and unreliable. I wrote earlier about my “initial reaction to Capture One“, I have now been using the system to process my RAW files for approximately a year, and can hardly imagine using anything else.
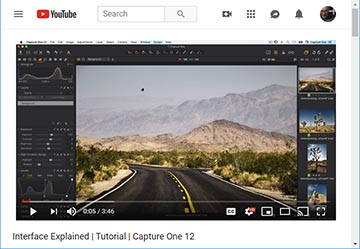
Developed by PhaseOne primarily for studio based photographers shooting tethered with a medium format camera. There is a close relationship between Sony and PhaseOne, including the fact that PhaseOne cameras use Sony sensors, and for some reason the Capture One software is about half price for Sony users.
For me advantages over Lightroom include:
- More flexible RAW processing – studio standard adjustments especially with regard to colour management which can be applied in layers and masked as required
- Tethered support for Sony
- Sessions which are lightweight project based collections of images that can be easily recorded on one computer and transferred to another
- Great free webinars and recorded tutorials
- Much faster.
Lightroom Classic
Lightroom’s strengths lie in its file management and availability of plugins to connect with social media.
In particular Lightroom is very strong for the following:
- Managing and sorting large volumes of images, I currently have nearly 40,000 images in Lightroom despite a ruthless deletion policy
- Collections, independent of physical storage location, e.g., for past and potential competition entries
- Portfolio management through the star system.
Note: Capture One Pro has the concept of Catalog which go some way to replicating the functionality provided by Lightroom. However, the PhaseOne representative at Photography Show at the NEC on the 18th March said that “Catalogs still have some way to go” and agreed with me that Lightroom is currently more functional.
Photoshop CC
There is no substitute for Photoshop as the ultimate image manipulation software. Photoshop editing can be initiated from either Capture One or Lightroom. When editing a RAW file in either system, a TIF file is created to hold these adjustments and is displayed alongside the edited RAW file.
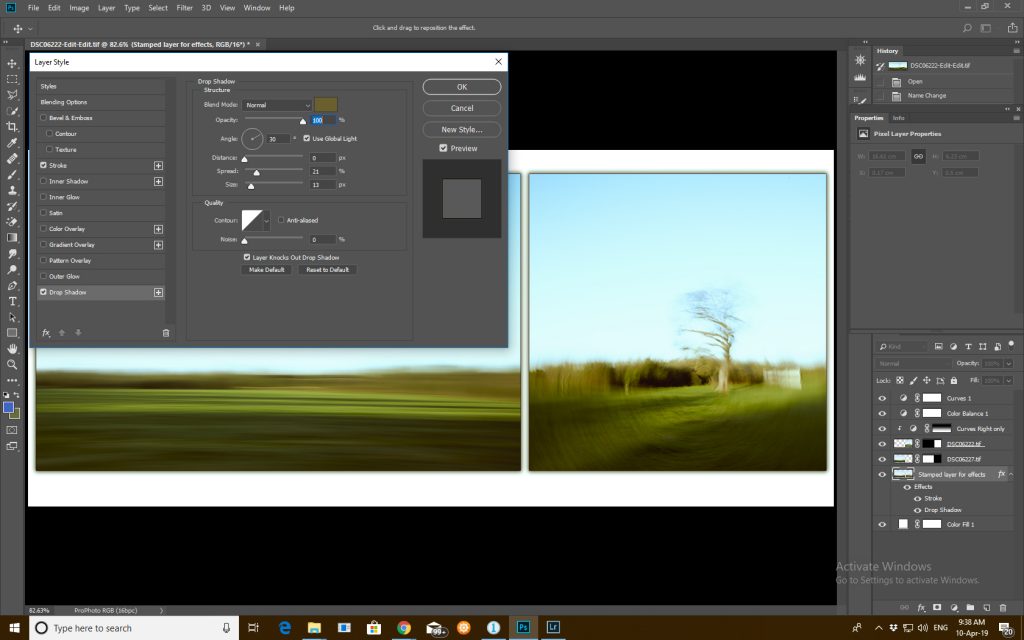
Unfortunately, one cannot move back and forth between Capture One (or Lightroom for that matter) and Photoshop making edits in each without loosing the layer structure of the previously editing software. So once one has started editing in Photoshop, it is preferable that all further edits take place in this system.
Hardware
I’m on the cusp of moving wholesale to Apple hardware motivated by a need for greater speed, and the a nervousness about the reliability of my currently aging hardware. At the moment I have a Dell desktop computer with a two screen, calibrated with Spyder 4, and a Dell Latitude E6540 which looks as though it has seen better days.
Bulk storage is on a 12 Terabyte Synology NAS drive with 2 RAID drives providing a combined 6 Terabytes of storage. I currently store 1.68 Terabytes of photos. Access to this device is quite slow.
“Active” images, i.e., all those with 4 or 5 stars, need to be stored on the hard drive of the the main computer, and automatically backed up to the NAS.
FIAP Requirements for RAW File Access
General Regulations 1.3 of the FIAP Book states:
- “Participants must store and preserve intact, with no alterations, the metadata, the RAW file(s) or the original untouched JPEG file(s) of the submitted images (and those take immediately before and after the submitted image(s)) for possible future motivated inspection, with no expiry, prescription or limitation of FIAP actions.”
The implication of the above is that all potential submissions need to be stored in a Lightroom Collection together the the associated RAW files.
Star System Ranking
First defined in an earlier post (Star-based image scoring system) the following is a slight revision, particularly relating to 5 star images.
- “one star” – reject to be deleted
- “two stars” – worthy of further consideration, i.e., on the shortlist but will be deleted unless promoted to 3 stars
- “three stars” – worth keeping, will get saved in Lightroom, stored on Flickr and possibly Facebook and/or Instagram
- “four stars” – for entry into competition, or one that previously scored well
- “five stars” – a winner, must have at least scored a 20 in a SPPC competition (or 18 at the APS), and is worthy of entry in an external competition. The set of five star images is effectively my Dynamic Portfolio.
Post-Processing Workflow
Importing to Capture One
This section deals with getting images from the camera into Capture One on my desktop computer and deals with the following three scenarios:
- Straight from the Camera’s Memory Card
- Tethered Shooting
- Remote 0peration
Straight from the Camera’s Memory Card
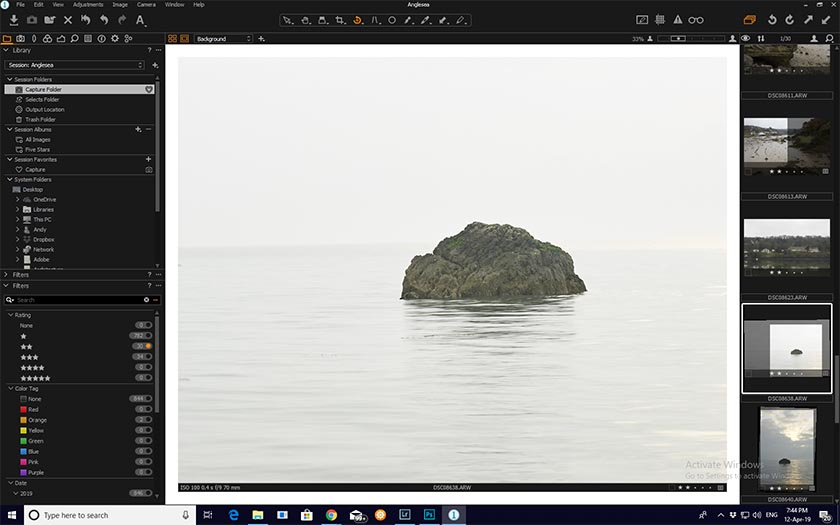
This is the easiest situation where one plugs the memory card from the camera directly into the main computer, open up Capture One and import the files directly into the appropriate Session.
The appropriate Session is either:
- Project related, e.g., I have a project on Slough Urban Regeneration, so have a Session to specifically hold those images
- Overall annual catchall, e.g., “Master Session 2019”.
Shooting Tethered
Capture One has tethered shooting at its core.
- Camera is connected via a TetherTools cable to my Dell laptop
- New Session created in Capture One Pro on the laptop
- It all just works great.
Transferring the Laptop Session to the Main Computer
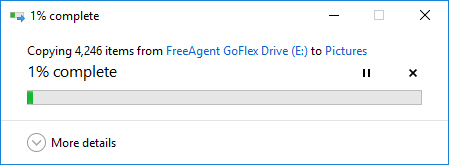
Copy the session folder from the Laptop’s “Pictures” directory to a portable external disk. This can take some time, e.g., the c. 846 images shot over a week in Anglesey created 4,246 items that needed to be moved, which took 10s of minutes.
Copy this session folder from the external drive to the Pictures directory of the main computer.
Open the session:
- Open Capture One on main, desktop computer
- Menu: File -> Open -> navigate to the newly created folder under Pictures on the C: drive and select the session file as below.
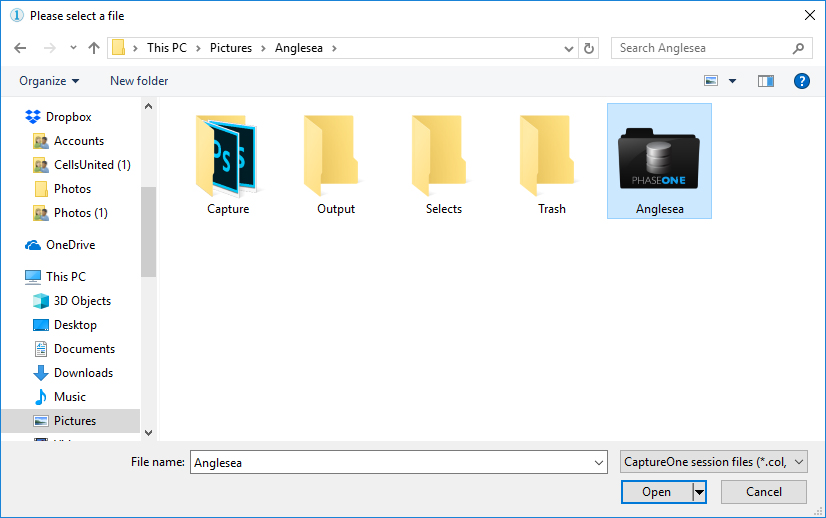
That’s it, Session now working on main computer just as it did on the laptop.
Remote Operation
When shooting for several days away from home, e.g., when on holiday, I need a way to review images and start the culling processing so that this is not an overtly onerous task when I return home. As mentioned in previous posts I also know that I just can’t help myself from having a go at a spot of post-processing, so I have to accommodate both RAW and those already processed as TIFs in Photoshop.
This scenario requires a workflow that is simply a combination of the two above. As with a tethered shoot, images are stored a new Capture One session, only this time they are imported from the Camera’s memory card as in the first scenario. Transfer of the Capture One Session to main computer as above.
One should have a target number of “Keepers”, i.e., three star images that are worthy of exporting to social media from the session. The smaller this number, the less onerous the task of processing the images when one returns home.
Culling and RAW Processing in Capture One
This stage can be carried out either on the laptop, main computer, or across both.
First Stage Culling: Zero to One or Two Stars
When an image is imported into Capture One it is automatically assigned zero star status, which I interpret as meaning uncategorised. This is a first look whereby obvious failures can be eliminated. i.e., assigned one star and survivors are given 2 stars just to show that they have been “seen and not yet eliminated.”
At this stage it is likely that multiple similar images are assigned two stars. In exceptional circumstances, stand out images might be awarded 3 stars, to potentially downgraded during the next stage.
Ideally this should be carried out as soon after shooting as possible.
Second Stage Culling: Eliminating the Two Star Images and Managing the Three Star “Keepers”
One should have a target number of “Keeper” images one requires from a shoot. These are the images that will be used and assigned three stars (see the star system above).
Converting the two stared into either one star or three stared images is an iterative process, that frequently involves some level of trial editing, as in the next step, and needing to trim the number of three star images to the target number.
Colour Coding
Target shots should be differentiated into the following classes (as suggested by Janey Devine on 24th March 2019):
- Red – Establishment shots
- Yellow – Portraits
- Green – People at Work
- Blue – Detail
- Purple – “The Decisive Moment” i.e., something a bit different, blurry or abstract.
[Colour codes chosen to work in both Capture One and Lightroom.]
Orange and Pink (colours that don’t transfer to Lightroom) should be used alternately for sets of images intended for a panorama or HDR. Note: the creation of the panorama or HDR should be initiated from within Capture One, before export to Lightroom on either the laptop or main computer.
Editing the Keepers
Of the three star “keepers” need to:
- construct any panoramic or HDR images (individual RAW files get down-graded to one star)
- chose a pleasing crop ensuring that horizons are horizontal, etc.
- clean out dust/ lens spots (using temporary curves adjustments to make these easier to see)
- adjust the White Balance
- adjust levels.
Export to Lightroom Classic
[By this point all images should be assigned either one or 3 stars.]
Working with my “keepers”, i.e., 3 star images, this may be a mixture of RAW files with some level of adjustment and perhaps some TIFs that I have already created.
- Select any TIF files with 3 stars – move (by just selecting all of them, dragging and dropping) to the Master Session/ Output folder in an Explorer window. This is watched by Lightroom Classic CC and the files will be auto-imported/
- Select all 3 star RAW files (all 3 star images remaining should all be RAW) apply the process I have defined, “Export to Lightroom”, which creates a 16 bit TIF file and puts it in the Master Session/ Output folder where it is picked up by Lightroom, as above.
- Move all the selected 3 star raw files to the Selects folder.
Delete all one star images. This actually just sends them to the Session’s Trash folder where I periodically move them to the NAS drive.
Note: if any of the 3 star images become 4 stars, i.e., candidates for a FIAP competition, the RAW files on either side of the submitted images needs to be fished out of the trash and stored on the local hard-drive.
Processing in Photoshop CC
There are some things best done in Photoshop:
- Removal of distractions
- Many local adjustments
- Colour toning
- Final curves adjustment
- Controlled vignette
- Creation of polyptychs
- Preparation of PDIs for competitions, i.e., adding a key line and creating a correctly sized JPeg; or extending slightly to allow for overlap when printing.
Removal of Distractions & Local Adjustments
As a general rule the Background layer should not be directly edited; cloning and all other adjustments should be done on a separate new layer.
One useful tip when cloning to a new layer is to consider changing the blend mode of this layer to preserve some of the texture or context of the original image. This is a top tip from Paul Mitchell (see notes from seminar on 21st February 2019) for cloning out bright spots in woodland where the sky peaks through.
Colour Toning
Images often have greater impact if the colour balance in the Shadows contrasts with that in Highlights. I have defined Photoshop actions that I have assigned as follows:
- F4: warms the shadows and cools the highlights
- F5: cools the shadows and warms the highlights.
Final Curves Adjustment
Generally it is desirable to ensure that the entire tonal range is utilised, apart from perhaps the first 5% of the blacks and 5% of the highlights. Exceptions to this being when one is creating a high key or low key image where the highlights or shadows are deliberately blown.
Adding a curves layer with a gentle s-curve is often useful to add a final bit of punch.
Export to Social Media
Export 3 star images as max 1,000 x 1,000 pixel JPegs for uploading to Instagram, Facebook and this journal.
Directly export 3 star images to a new Flickr album.
Management of Top Images
Objectives
Four and five star images, according to the star ranking system, are those that are considered as candidates for a competition, or have already scored well making them potentials for a FIAP competition.
File Storage
Current Portfolio Images in a Lightroom collection together with their RAW files and those on either side.
Most images can be stored on the NAS drive. On an annual basis the Capture One Master Session should be moved from the main hard drive to the NAS.
TIF files in the Master Session Trash are permanently deleted on a periodic basis, i.e., whenever I’m running a bit low on disk space. RAW files are moved to a folder on the NAS drive. A new folder is created for each such move to remove the possibility of name conflict occurring as a result of having used different memory cards in my camera.
No files are ever deleted. 6 Terabytes = 70,588 x 85mb RAW files. [Enough for now but not a huge abundance.]
Notes:
- Capture One Initial Reaction
- First Revision: Processing Workflow
- Post-Processing Workflow
- Returning from Holiday – Merging Lightroom Catalogs
Final thoughts
Given that this is my second revision already, this workflow is bound to be revised further of my next 7,790 hours of this project. If you have any comments on the above, please post them below. Your help is much appreciated.
To see more posts on other photographic topics, or to follow my learning progress, please like or follow me on the social media channel of your choice to the right.