December 2017
Hours 118 to 193 of deliberate practice out of the required 10,000 hours learning photography.
31 December 2017
Hours 191 to 193
An hour and a half morning shoot in Vancouver, plus half an hour’s initial processing.
An hour and a half in the Vancouver Art Gallery. Particularly interested in the Black Paintings or “Entanglements” by Gordon Smith.
The Gallery itself is a very interesting building and allows photography for personal use.
30 December 2017
Hours 190
An hour sorting my best 5 images of 2017 for submission to the RPS monthly competition, entry by 3rd January 2018.
29 December 2017
Hours 188 to 189
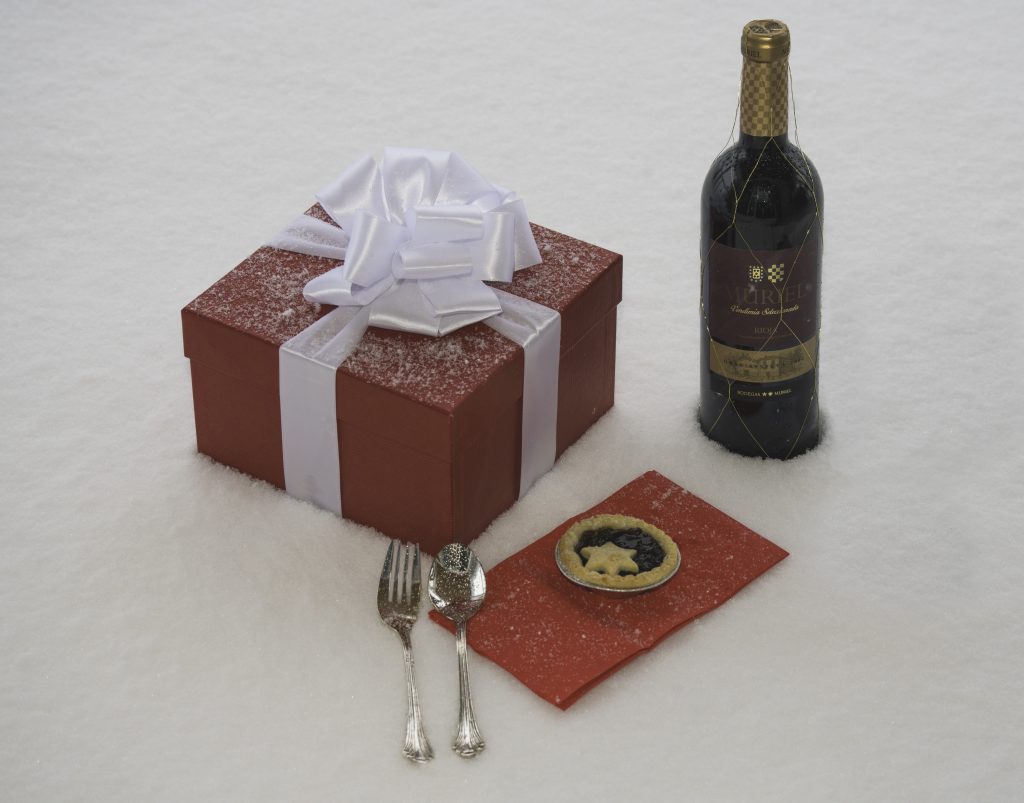
Freezing rain continues making leaving the house “inadvisable”.
Virgin snow on the terrace later begs a still life as below.
28 December 2017
Hours 185 to 187
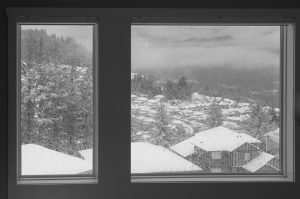
Freezing rain in British Columbia, so we are not going far today. Interesting texture shots taken from the balcony.
Two hours completing the About Me: “Other Than Photography” page on this site.
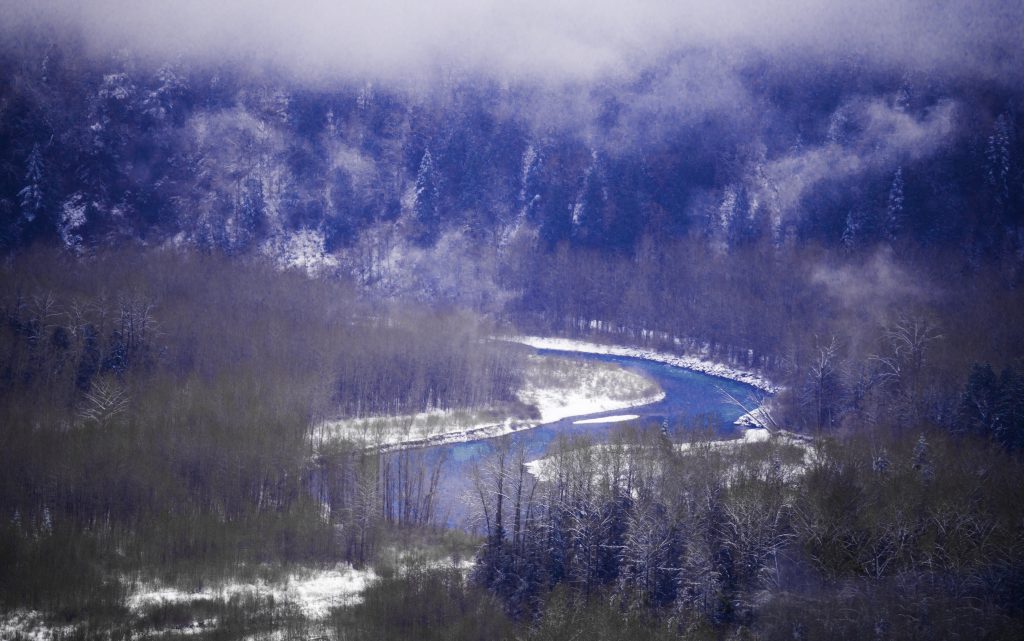
An hour shooting and processing Chilliwack River in the Rain below. Orange – Blue complementary colour theme.
An hour updating the About: “Why 10,000 Hours” page with a section on “Criticism of the 10,000 Hour Principle”.
27 December 2017
Hours 182 to 184
An hour adding a section on Gestalt Theory to the forthcoming post on “Composition – First Thoughts” mainly thanks to a great reference from: “The Designer’s Guide to Gestalt Theory” by Sam Hampton-Smith who I think, and hope, is a Scot, but in any case is an addition to my top Blogs to follow.
An hour editing images from the Vandusen Festival of Light plus another updating this journal.
26 December 2017
Hours 180 to 181
One hour morning shots of Chilliwack including processing.
More time updating the Composition First Thoughts post.
Tour of house illumination in Chillawack yielded some interesting shots. Let’s see …
25 December 2017
Hours 179
First shots of the Chilliwack River
Formal group shot – still struggling with my flash.
Most of the day spent thanking Santa for my annual membership of the Tate.
24 December 2017
Hours 178
An hour processing shots from the Vandusen Festival of Light using Lightroom CC.
23 December 2017
Hours 176 to 177
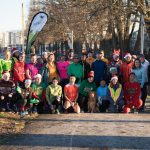
Half an hour’s shooting at the Richmond Olympic Parkrun near Vancouver – very sweet only 38 runners, and they all posed for a shot at start. Then half an hour processing these images in Lightroom CC – as yet have not worked out how to export them to Flickr.
The quality of photography at Parkruns is variable. However, the quality at Richmond is very good and the images were certainly better than mine. I will be looking for tips.
An hour shooting the Vandusen Festival of Light. Very cold, batteries on camera go dead quickly and regretting not following up George Mardall’s suggestion of buying the intimidatingly expensive Heat-3-Smart gloves as I had to take my normal ski gloves off everytime I wanted to take a shot.
22 December 2017
Hours 174 to 175
Two hours working on the Composition post.
Installed Lightroom CC on my laptop and uploaded a couple of images for practice.
21 December 2017
Hours 172 to 173
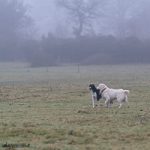
An hour shooting in Hastings Meadow followed by an hour processing and updating this journal.
 20 December 2017
Hours 170 to 171
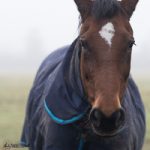
Morning shoot at Hastings Meadow; misty start to the day so keen to capitalise. Some reasonable horse shots in the mist: could have been sharper. Keen to get out and do better.
An hour processing these and yesterday’s images.
19 December 2017
Hours 166 to 169
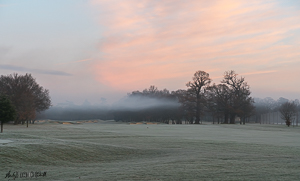
One hour at sunrise shooting at Stoke Park. The promised misty morning didn’t materialise, but it was still nice and frosty.
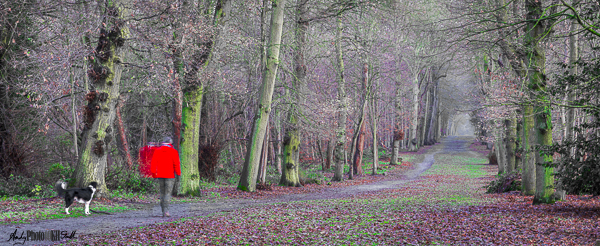
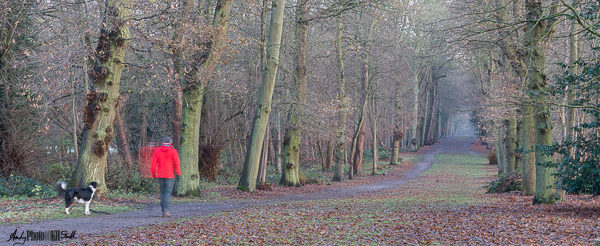
An hour processing shots from yesterday particularly the following which has a split complementary colour theme centred on Green with the complementary colours of Red and Purple. I think this gives it a bit more zip than the original shown below.
One hour watching the end of the Adobe Online Photography event – December 2017 on YouTube started on the 14th. Advantages of the purely cloud based operating environment highlighted.
One hour updating this journal. Reviewing some Instagram Feeds noticed: Some high impact street photography also has high contrast and a limited colour palette.
18 December 2017
Hours 163 to 165
An hour shooting around sunrise at Cliveden.
An hour processing.
An hour watching the Adobe YouTube featuring:
- Alistair Horne – Ali Horne Photography – Landscapes on Instagram
- Carolyn Stritch – The Slow Traveller – Instagram Blogger
- Julia Smith – Humphrey & Grace – Stylish and Eclectic Instagram
- Ryan Howard
17 December 2017
Hours 160 to 162
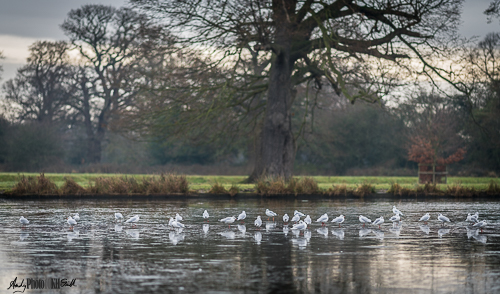
An hour shooting in Langley Park followed by an hour post-processing these images. Ice on the lake so some nice wintery scenes.
An hour starting a post on composition – first thoughts.
16 December 2017
Hours 158 to 159
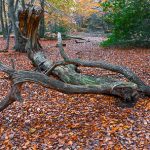
After the morning Parkrun at Black Park, spent two hours finishing and publishing the Review of Autumn 2017 post.
15 December 2017
Hours 157
An hour reading my current book: “Really Good Dog Photography” some misc updating of this journal.

14 December 2017
Hours 154 to 156
Morning shoot in Burnham Beeches, lovely light, just a little snow remaining in places.
An hour post processing.
An hour finishing the Review Autumn 2017 post.
An hour watching the Adobe Online Photography event – December 2017 on YouTube.
13 December 2017
Hours 153
Review of Book “Really Good Dog Photography”
Updating this journal, particularly in the light of yesterday evening’s success.
12 December 2017
Hours 149 to152
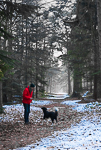
8am beautiful weather following a very cold night. Temperature still down to -2c. Roads gridlocked, so by the time I get to Black Park, I park in the main carpark rather than the semi-legal lay-bye on the Uxbridge Road.
One hour processing these images. Again deploying a limited colour palette of complementary colours.
Two hours at the Stoke Poges Photographic Club. Competition “Sunrise/ Sunset”.
Good Results for all but my last image
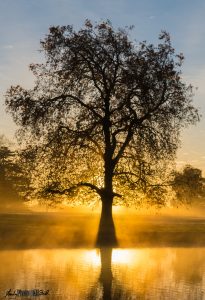
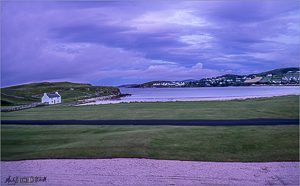
“First Reflection”
Score 20
Praised for bold composition.
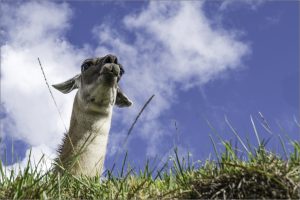
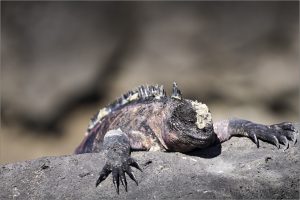
“LLama Says Hello”
Score 20
Praised for strong composition and sharpness of the key parts of the image, i.e., eyes, nose, etc.
11 December 2017
Hours 145 to 148
Horrible weather first thing in the morning, sleet rain, with the accompanying awful light. So, resolved to shoot later in the day.
Looking to finish the Autumn Review post, I processed 3 images from Cliveden all the same colour theme of analogous colours. In this case Orange, Yellow and Green were boosted to 100%, Aqua and Red were left as were, and Magenta, Purple and Blue were completely desaturated. Implemented using the colour toning tool in Lightroom Classic CC. (See my Colour Theory First Learnings post.)
Shots were then edited in Photoshop where areas of sunlight through the trees were cloned out using the cloning tool set to 50% opacity and “Darken Colour” blend mode. Selective vignette added by copying the layer setting the blend mode of the top layer to Multiply and masking out the central non-vignetted bits.
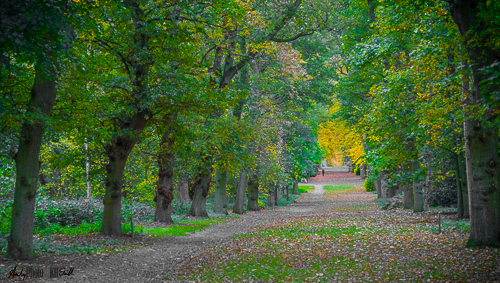
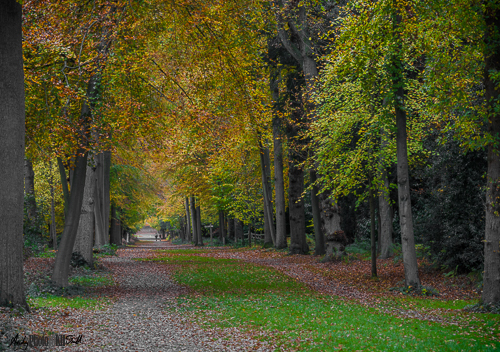
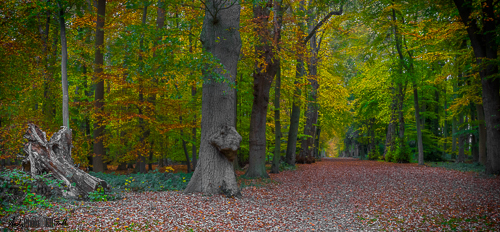
Have been comparing these to images created by Paul Mitchell who is my current benchmark for excellence in this style of photography. The cloning technique for blocking out patches where the sky intrudes through the trees is his.
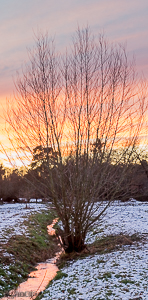
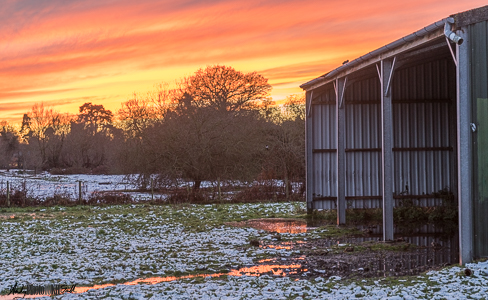
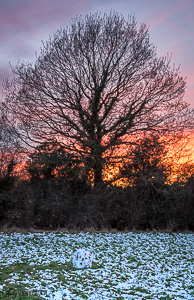
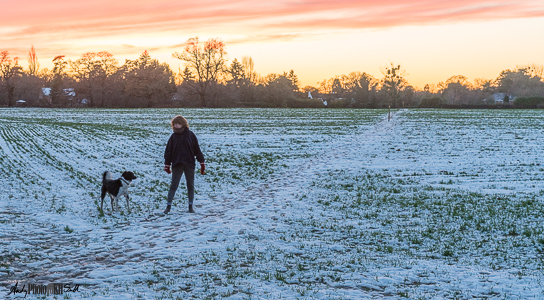
Evening (4pm) shoot in Hastings Meadow to capture the snow before it melts.
10 December 2017
Hours 142 to 144
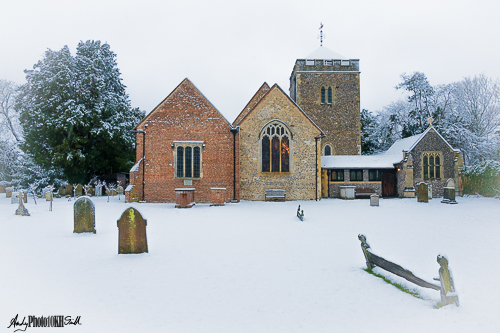
8am it is snowing heavily. First to Black Park then to St Giles Church.
Stoke Poges
Two hours processing and updating social media and this journal.
9 December 2017
Hours 141
Continued watching the Kelvin Designs YouTube about sharpening. This time concerning the sharpening tool in Photoshop CC, which is the triangle symbol below the gradient tool in the toolbar on the left hand side of the Essentials layout.
Key learning points:
- Sharpening tool is designed for selective sharpening
- It will not work on Smart Objects, so is effectively a destructive technique. So the way round this is to create a blank new layer for the sharpening and to click the “Sample All Layers” tick box at the to of the screen. (Also recommended is the protect detail tickbox)
- Can also be used for luminosity sharpening, by changing the mode to “luminosity”.
Next technique was a more sophisticated version of sharpening using the High Pass Filter than I have used in the past.
Old technique:
- Make a copy of the layer
- Convert to black and white <ALT-Shift-CTRL-B>
- Apply Filter > Other > High Pass
- Change the blend mode of this new layer to Overlay, Soft light, Hard Light or even Vivid Light
New technique (for monochrome images):
- Make 2 copies convert both to black and white and then both to smart objects
- To the first, lower, copy apply Filter > Blur > Gaussian Blur
- To the second, higher, copy apply Filter > Other > High Pass
- Create a Group of these two layers
- Mask and apply selectively.
8 December 2017
Hours 139 to 140
Watched a YouTube on sharpening techniques by Kelvin Designs but went off on a bit of a tangent learning about the Camera RAW filter in Photoshop CC which appears to do everything, and more, than the RAW editor in Lightroom.
New learning point, from within Photoshop:
- copy background to create a new layer which contains the sharped image whilst leaving the original available
- convert of Smart Object, so that settings can be readjusted
- Filter > Camera RAW Filter <Ctrl-Shift-A> to edit the RAW file in a very similar manner to the tools provided in Lightroom
- Sharpening in Camera RAW has the Masking facility (as in Lightroom) that ensures that protects areas without edges for being messed with; particularly useful if the image is a little noisy
- Y tool that provides a Before and After comparison view.
Edits applied to the new layer can be selectively masked out as required.

7 December 2017
Hours 136 to 138
An hour at the PAGB Masters of Print Exhibition at the RK Burt Gallery, 57 Union Street London. This was a very small exhibition with only 59 entries; some of a high quality. I attended at about 1pm, which I would have thought was the peak time, and was the only visitor for the entire time I was there, although the people manning the event came and went. This meant I could engage with the organisers and discuss some of the images.
The PAGB is an organisation I intend to get more involved with.
An hour in the Tate Modern (just down the road from the PAGB event). Attended the other half of the free permanent exhibition to that visited on 24 November. This half of the exhibition struck me as politically motivated and depressing, whereas the half visited initially is positive and inspirational.
An hour shooting on the tube, processing the images and updating this journal.
6 December 2017
Hours 134 to 135
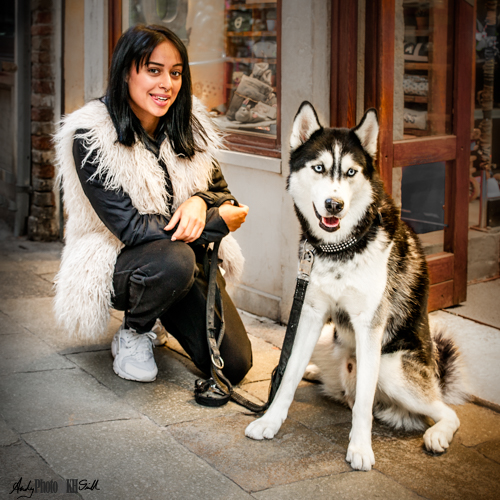
An hour shooting in Gray’s field and processing the images. Then an hour trying to create a better version of “Complementary Markings” based on the feedback from the Rosebowl earlier this week.
Still a “work in progress.”
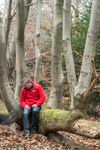
5 December 2017
Hours 129 to 133
An hour shooting in Burnham Beeches plus a subsequent hour processing the images. Quite pleased with the following semi-abstract.
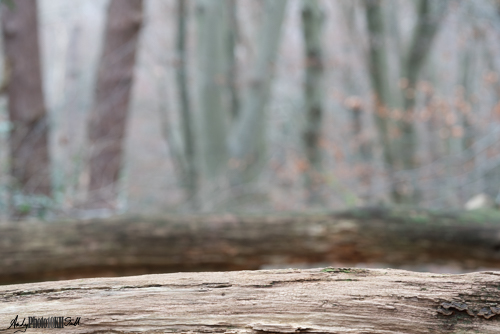
Two hours at the SPPC: video on food photography.

Looking good in Langley Park
4 December 2017
Hours 125 to 128
One hour photography in Langley, inc. processing time.
Some prep of PDIs for the forthcomming “Sunrise and Sunset” competition.
Two hours at Amersham Photographic Club for round 2 of the CACC Rosebowl in which SPPC are taking part. Very high quality of images shown, excellent judge who gave constructive feedback particularly with regard to post-processing options.
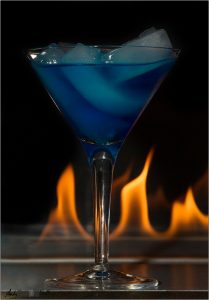
“Fire and Ice” scored 17.
Criticised for the double line across the bottom of the image and the fact that the glass was too close to it.
(Additionally, I am not happy with the reflection of the flames in the glass behind.)
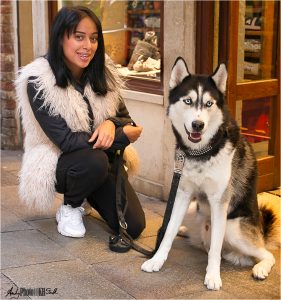
“Complementary Markings” scored 16.
He felt it needed more space; the subjects were too cramped in the frame.
It was taken at eye height to the girl looking down on the dog; he felt it would have been better had the line been between the two of them.
Her shoes and the dog’s front paws are a little too bright.
He was also a major fan of Nix filters as lightroom plugins and slective sharpening using luminosity or darken options.
3 December 2017
Hours 122 to 124
Reading the John Canaday book “What is Art?”
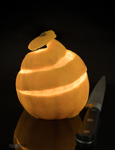
2 hours working on the Food still life right. This was achieved by putting an LED light inside an orange and holding the peel up by a needle and cotton.
Compositionally, I felt that the knife was necessary to balance the image which was otherwise lacking context, scale and straying off to the left.
2 December 2017
Hours 121
Golf restricts time spent on photography to one hour in the evening reviewing the British Gallery by Michael Kenna.
Kenna shoots dramatic minimalist landscapes in black&white. His is the master of this genre and I was looking for things to emulate or blatantly copy. A few things that struct me:
- Frequent use of square format
- Dominant diagonals from bottom left, with a point of interest a third in and a third from the top, used almost identically in several different shots, but each time to good effect
- Lots of long exposures seascapes, clouds and star shots.
He shoots using film, which in my opinion, is just making life difficult for yourself. Some of the work in this collection predates digital, but not all of it.
1 December 2017
Hours 118 to 120
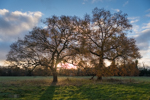
7:30am morning shoot in Hastings Meadow and Gray’s Field. Light conditions much less interesting than they were when I started this project a month ago.
An hour processing these images and selecting images for the next SPPC competition: “Sunrise and Sunset”. Following my competition strategy, I have selected fairly high risk images for both the set subject and the open categories. A problem with print competitions is that the mount always overlaps the print to some extent meaning that the image one sees through the aperture of the mount is smaller than that actually printed. To allow for this I have either slightly enlarged the crop, if this is possible, or used Photoshop to increased the size of the canvas (I’ve tried 5%, although worried that this might be too much) and used context sensitive fill to enlarge the image. Having done this numerous times before, I have learnt the trick of avoiding any join lines:
- select the enlarged area of the canvas, typically now a white border, using the Magic Wand tool
- go to Select menu, Modify, Enlarge and enlarge by 5 pixels
- go to Select, Modify, Feather and set feathering to 0.1 (which is the least allowed)
- Edit Fill (or <shift>F5) and fill Context Sensitive, normal blend mode
- <Ctrl>D to remove the selection (marching arts) so that you can see what you’ve got
- Clone out anything that looks strange. Context sensitive fill is remarkably good, but not always 100%.
An hour updating this journal.
