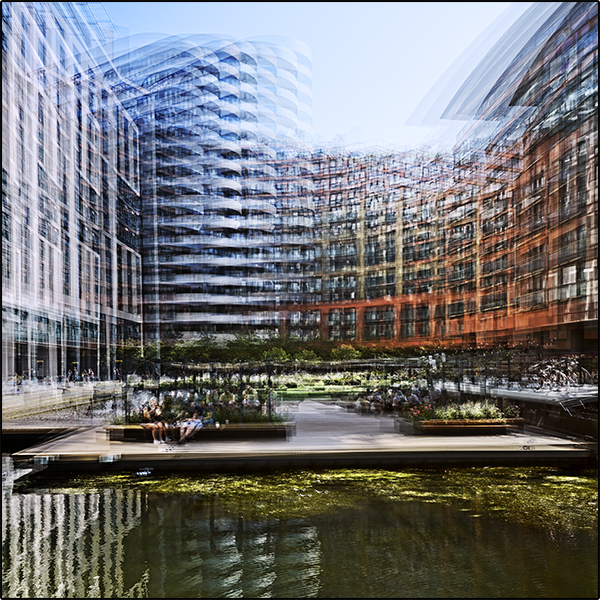
Dynamic Abstraction through Multiple-Exposure

Ten Thousand Hours Photography
10,000 Hours Deliberate Practice Learning the Art of Photography

Hours 800 to 2,200
The objective of this post is to create and document a workflow that makes better use of the respective strengths of Capture One Pro, Lightroom Classic and Photoshop CC, and to meet my developing requirements:
Capture One Pro has the concept of Sessions which are great for managing discrete projects. In my opinion better than anything Adobe has in this area. However, for overall file management, Lightroom Classic CC is a clear winner (even PhaseOne admit that Capture One Catalogs are not quite there yet). Photoshop remains the top choice for final editing.
This post covers both:
As usual, if you have any comments or suggestions, please post them in the Comments box below or contact me through your favourite social media channel, listed to the right. Thank you.
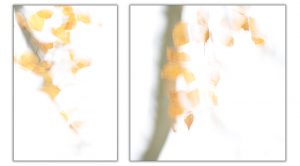
In the last year or so some of my most successful competition entries have been in the form of Diptych or Triptychs. This post is an attempt to consolidate my thoughts regarding what makes a successful Diptych (Triptych or other Polyptych).
I define success as the whole being greater than the sum of the parts. For example the picture to the right, which was roundly applauded in competition at the Amersham Photographic Society, consists of two sub-images which on their own are OK but too simplistic to hold the viewer’s attention for long.
As usual, if you have any questions or comments, please post them below.
To see more posts on other photographic topics, or to follow my learning progress, please like or follow me on the social media channel of your choice to the right.
Arguably the best way of learning architectural photography, is to actually do it. The scariest way of learning architectural photography is to get paid for a real assignment. I achieved the later through a friend who runs a building company specialising in high-end residential property. Some commercial properties, but mainly multi-mi££ion “Grand Designs” style contemporary new-build or conversions.
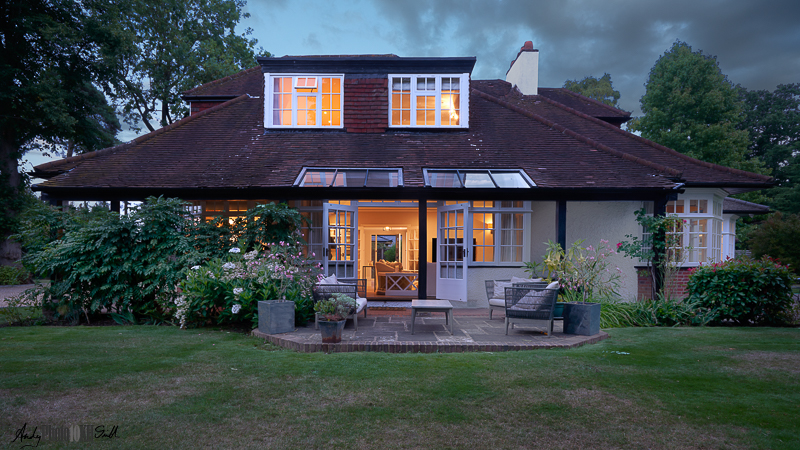
Back in January when I was “shooting the shoot” for the Larsen Syndicate, one of the guns explained that he wasn’t particularly happy with the photographers he had used in the past, and we discussed the possibility of me doing some work for him. He insisted that he would pay me; a good idea all round, but nothing happened for 7 months. Then I received a phone call asking if I might like to photograph a house they had worked on. This turned into two houses, and the promise of other work including more properties, a company shoot and a time lapse of a major project. All before I had actually done anything.
Having never shot houses before, I had to learn fast. I purchased an FStoppers on-line course from Mike Kelley and set about practising on my own home, as above.
If you have any comments on this post, please post them below.
To see more posts on other photographic topics, or to follow my learning progress, please like or follow me on the social media channel of your choice to the right. Thank you.
hours 50 to 800
My first “Post-Processing Workflow” post was in November 2017 after 0-50 hours of my 10,000 hour project: Learning the Art of Photography. Since then I have completed over 700 further hours of deliberate practice and have adopted a Capture One Lightroom and Photoshop workflow as follows:
As with most, if not all, of the processes being developed through my 10,000 hour learning project, this is a work-in-progress, and if you have any suggestions or comments I would be grateful to hear from you. Please either leave comments in the box below or connect with me through the social media channel of your choice, right.